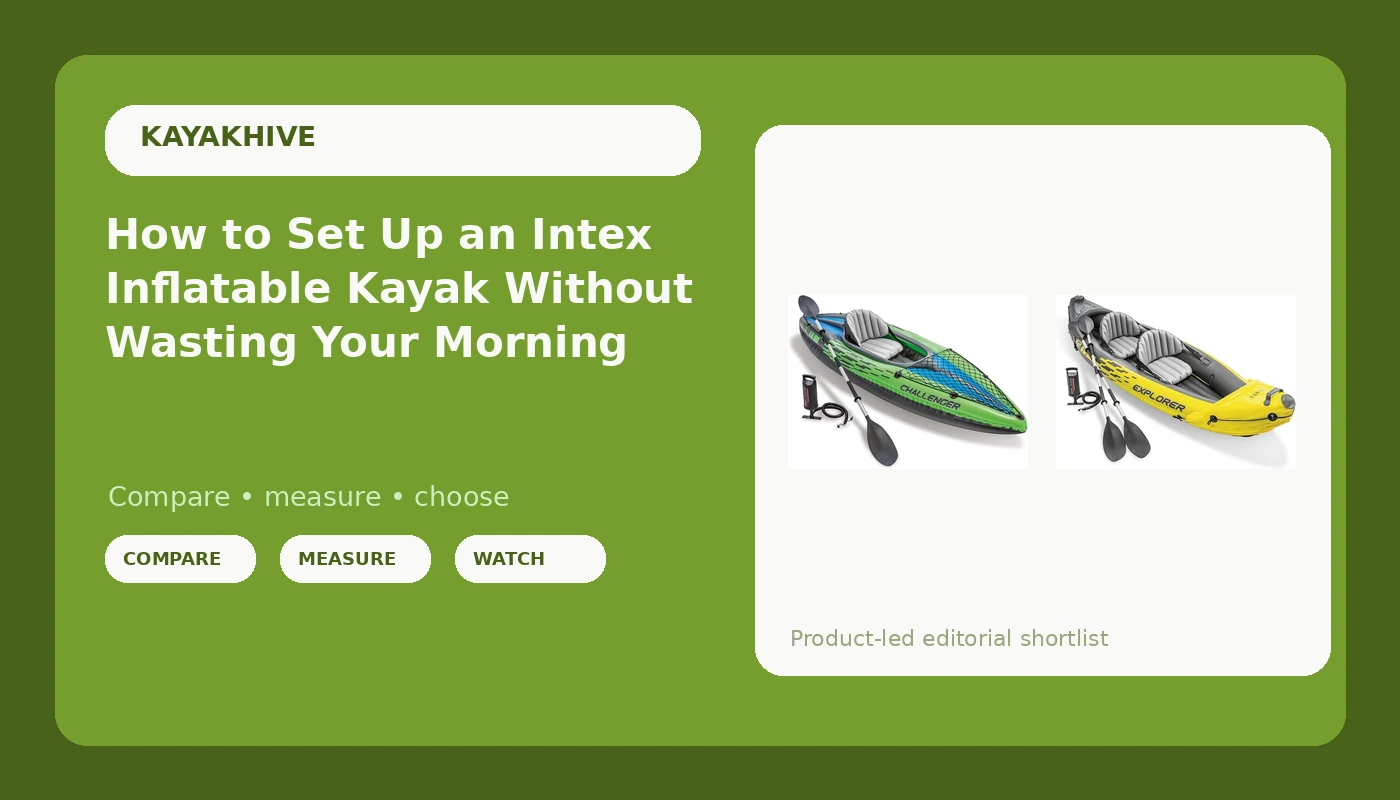
An Intex inflatable kayak setup looks like a ten-minute job on the box. It is not. The first time you do it on a boat ramp with the wind pushing your hull across the parking lot, it takes long enough that your paddling partners are already a quarter mile up the creek. Almost none of that lost time comes from the boat. It comes from the order you do things in.
I paddle Florida springs and mangrove creeks most weekends, and I keep two inflatables in the garage: a drop-stitch boat I baby, and a cheap recreational tube I do not. The cheap one has a two-inch gash in the hull that I patched with a bicycle tire repair kit, and that patch is still holding three summers later. That is the standard I judge every budget inflatable against.
This guide covers the two Intex kits most people actually start with, and how to get one inflated, trimmed, and paddling straight without turning your morning into a pump session.
Why you should trust me
I have been paddling the same stretch of Florida water for nine years, mostly weekends, and I spent my twenties as a charter fishing deckhand. That job taught me to read wind and current lines before I learned anything about hull specs, which is the correct order.
I own two inflatables. One is a drop-stitch sea-kayak-style boat. The other is a cheap recreational inflatable that I have patched twice, once after a submerged branch tore a two-inch gash in the hull and I fixed it with a bicycle tire repair kit. That patch held for three summers, and it taught me more about PVC and glue than any spec sheet ever has.
Every boat that comes through my garage gets the same treatment. A stopwatch on the ramp with the same hand pump, three runs, and a deliberate damage test on the hull material before I trust it anywhere near a rock garden.
How I picked and how I tested
This is not a "which inflatable kayak is best" article. It is a how-to for the two kits that land in almost every budget buyer's cart, and the method matters more than the marketing.
Three things get checked in my driveway and at the ramp. First, setup time with the pump that ships in the box, timed from the moment the bag hits the ground to the moment the boat is floating with the seat and skeg in place. Second, how the hull material behaves when it is damaged, because every inflatable leaks eventually and the only question that matters is whether a tear patches clean or spreads. Third, what happens when a real 200 pound paddler sits in it, because weight ratings are lab numbers printed on a calm day with no wind and no chop.
A 400 pound rating is not a promise. On a hot afternoon, with the sun softening the PVC and a chop pushing you sideways, a 400 pound boat carrying one real adult plus gear behaves like a 250 pound boat. That is not a knock on the kit. It is physics, and it is the thing nobody mentions at the register.
One more boundary I hold to: I will not call a hull tough without a patch test on that actual material. Soft PVC that patches clean is worth more to me than a stiff hull that splits and keeps splitting.
The two boats this guide is built around
Both of these are complete kits: boat, paddles, pump, and seat in one box. That matters, because the pump and the paddle are half the cost of getting on the water, and they are the two things beginners forget to budget for.
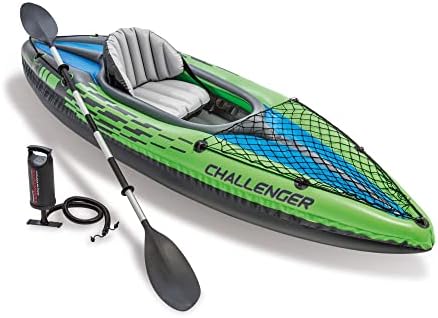
Budget pick: INTEX Challenger Inflatable Kayak Series
 Visit on Amazon →
The Challenger is the single-paddler kit, and it is the one I point beginners at first. The box includes the 86 inch paddles, a high-output hand pump, an adjustable seat with a backrest, a removable skeg, and a cargo storage net. Check current Amazon price.
Two things to know before you buy it. The floor is not drop-stitch, so do not expect a board-stiff platform under your feet. You will feel the water move beneath you, and that softness is exactly why this is a calm-water boat and not a spring-run boat. Second, the skeg is not decoration. On flat water it is the difference between paddling a straight line and zigzagging across the lake, and it takes seconds to slide into place before you launch.
Where it belongs: calm lakes, protected coves, slow water with no current worth mentioning. Where it does not: a spring run with real flow, an oyster bar, or anything with a rock garden. It is a pool toy with delusions, in the best sense, and I say that as someone who keeps exactly this class of boat in the truck for calm mornings I do not want to scratch the good hull on.
Flaws but not dealbreakers: Seat chambers on any budget inflatable want a top-off after an hour or two, so carry the pump in the boat instead of leaving it in the car. The included paddle is a spare, not a keeper.
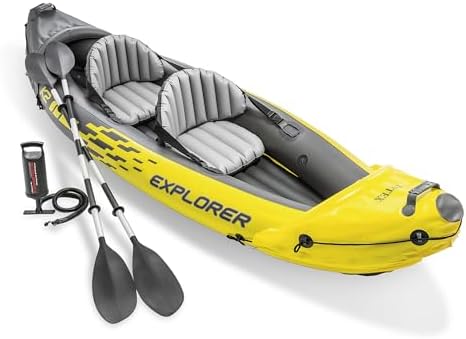
Tandem pick: Intex 68307EP Explorer K2 Inflatable Kayak Set
 Visit on Amazon →
The Explorer K2 is the two-person version of the same idea: two adjustable seats with backrests, 86 inch aluminum oars, a high-output pump, and a 400 pound capacity rating. Check current Amazon price.
The reason to pick this over the Challenger is company. Two paddlers put more strokes in the water and more weight low in the hull, and the boat holds its line better for it. Paddle it solo and the bow rides light, which means wind pushes it around and you spend the afternoon correcting instead of looking at the mangroves. If you are buying for one person, buy the single. If you are buying so your kid or your partner comes along, this is the kit.
Flaws but not dealbreakers: Two seats mean two sets of straps to adjust, and the empty front seat is dead weight when you paddle alone. And to repeat myself, a 400 pound rating does not mean 400 pounds of people plus a cooler plus a dog on a July afternoon in Florida.
What you need at the ramp before you start
Get these in the truck before you leave: the hand pump that came in the box, a patch kit with glue that has not dried out in the package, a PFD for every person aboard, a towel, and a way to carry the boat by its handle. Drag an inflatable across a shell ramp and you will be testing that patch kit sooner than you planned.
Skip the electric pump that needs a car battery. By the time you have run the cord, found a flat spot, and waited, you could have pumped it by hand and been on the water.
Then pick your launch spot like it matters, because it does. Flat, out of the wind, and clear of shells and gravel. A slope with a headwind turns a pump session into a wrestling match, and that is the number one reason people give up on inflatables.
The actual setup, step by step
This sequence works on either kit. It is the order that saves you time, not the muscle.
Step one: unroll and let the PVC warm up. Cold PVC is stiff and fights the pump. Lay the boat flat in the sun for a few minutes while you rig your paddle and stow your dry bag. Do not leave it sitting in a hot car beforehand, because heat expands the air inside and you want to fill it at the ramp, not before.
Step two: floor first, then sides. Inflate the floor or lower chamber first so the hull has a base, then fill the side chambers. If you do the sides first, the boat balloons into a taco and the floor never seats right.
Step three: firm, not rock hard. Fill until the hull feels like a firm soccer ball, with a little give when you press it. Over-inflation is the fastest way to a seam failure, and it happens most often when people pump up in the shade and then paddle into full sun. If the boat sounds like a drum when you slap it, let a little air out.
Step four: seats last. Snap in the seat and tighten the backrest straps, then sit in it and adjust again. A backrest that feels fine while you are standing at the ramp will have you sliding down into the hull twenty minutes into the paddle.
Step five: skeg on before launch. If your kit has one, install it on dry land. Trying to seat a skeg while treading water is a great way to lose it.
Step six: load gear forward and low. Weight near the bow keeps the front of the boat planted, which helps tracking more than any accessory you can buy. Keep it light, keep it low, and tie down anything that floats.
Step seven: launch and check tracking in the first 50 yards. If the boat wants to wander, deploy the skeg if you have not already, and shift your weight slightly forward. Fixing this at the ramp takes a minute. Fixing it a mile out takes an hour.
Step eight: dry it before you store it. Wipe the hull, empty the cargo net, and let the boat dry out of direct sun. I have a mold spot in my own storage bag that I refuse to deal with, so do as I say and not as I do.
How to paddle a budget inflatable straight
A soft-floor inflatable does not track like a hard boat, and the fix is technique, not gear. Shorten your stroke and raise your cadence. Long, powerful strokes in a light hull push the bow off line, and then you spend two strokes correcting.
Keep the skeg down on flat water. Sit centered, not perched on the back edge. If the wind is on your beam, lean into it and keep the boat moving, because a stopped inflatable is a sail. And read the current line instead of fighting it. Cross a channel at an angle, the way you would cross a rip, and let the flow do part of the work.
Where these boats belong and where they do not
Calm lakes, slow rivers, protected creeks, and flat bays on a light-wind morning are the honest home of both kits. Open Gulf water, spring runs with real flow, rock gardens, and anything you would call whitewater are not.
If you want a floor that holds its shape under your feet and a hull that tracks in a chop, you are shopping for drop-stitch construction, and that is a different price bracket and a different article. The hybrid and tandem boats I like cost more because the hull costs more. There is no trick that turns a recreational inflatable into a sea kayak.
What this all costs
Both kits sit in the same budget bracket, and the reason is the bundle: pump, paddles, and seats included. Check current Amazon price on whichever one matches how many people are paddling.
The extras that actually matter are cheap. A patch kit, a PFD you will actually wear, and a dry bag. The upgrades that are not worth it on day one are a second paddle set, a replacement seat, and an electric pump rig. None of them get you on the water faster.
The math that matters is not on the box. It is whether you will use the boat. A kit that takes fifteen minutes to set up does not get used on a Tuesday evening. One that goes from bag to floating in the time it takes to drink a coffee does. That is why I time every setup, and why I would rather paddle a soft-floor boat I actually launch than a stiff one that stays in the garage.
The short version
Inflate the floor first, then the sides, then the seat, then the skeg. Fill it firm, not hard. Load gear forward. Check your tracking in the first 50 yards, not the first mile. Dry it before it goes back in the bag.
Do those six things and either of these kits will get you down a calm creek with dry gear and a straight line. That is the whole job. The springs do not care what the sticker says. They care how it tracks, and now you know how to make it track.