Every bad inflatable kayak setup story starts the same way. Somebody unboxes a boat in a parking lot, skims half the manual, and spends the next forty minutes huffing into a chamber while everybody else paddles away. I have watched it happen on the ramp at Fort DeSoto more times than I can count, and it is almost never the boat's fault.
The fix is not a better boat. It is a better order of operations. Inflate the floor first, get the pressure right, seat the valves, and you go from bag to water in the time it takes to drink a cup of coffee. Do it in the wrong order and you will be topping off chambers at the put in, which is the worst place on earth to discover your floor is soft.
I have been paddling Florida springs and mangrove creeks out of Tampa for nine years, and I have patched enough cheap hulls to know exactly which corners you can cut and which ones will float you into a bad afternoon.
Why you should trust me
Nine years of weekend paddling on spring runs and mangrove creeks, plus a stretch in my twenties working as a charter fishing deckhand, which is where I learned to read current lines instead of fighting them. I own two inflatables: a drop stitch sea kayak style boat that I baby, and a cheap recreational tube that I do not. The cheap one has been patched twice, once with a bicycle tire repair kit after a submerged branch opened a two inch gash in the hull. That patch is still holding three summers later, which taught me more about hull material and glue than any spec sheet ever did.
I keep a hand pump, a patch kit, and a stopwatch in the truck. Every boat that comes through my hands gets the same treatment: a timed setup on the boat ramp, and then a wet pack down in the rain to see how long it actually takes to put away. That stopwatch has ended more arguments than any review I have written.
How I picked and how I tested
This is not a which kayak should you buy article. It is the setup article. The two items below are the ones that ride in my truck on every trip, and they earn their spot the same way everything else does.
I do not review a boat without a timed setup: same hand pump, same paddler, three runs. I do not call a hull tough without stabbing the actual material and watching whether the tear stays clean or spreads. And I do not repeat a weight rating without a note on how the boat behaves with a real paddler aboard on a hot afternoon, because a 400 pound lab number and a 400 pound Florida afternoon are two different things.
The numbers I trust are simple. Pressure is the one that matters most. Three PSI is a puddle. A drop stitch floor at fifteen PSI is a board. If you cannot tell the difference with your thumb, you are not done pumping.
What has to be in the truck before you inflate anything
Two things ride with me every trip. One is the boat. The other is the bag I hope I never open. You need both before you touch a pump.
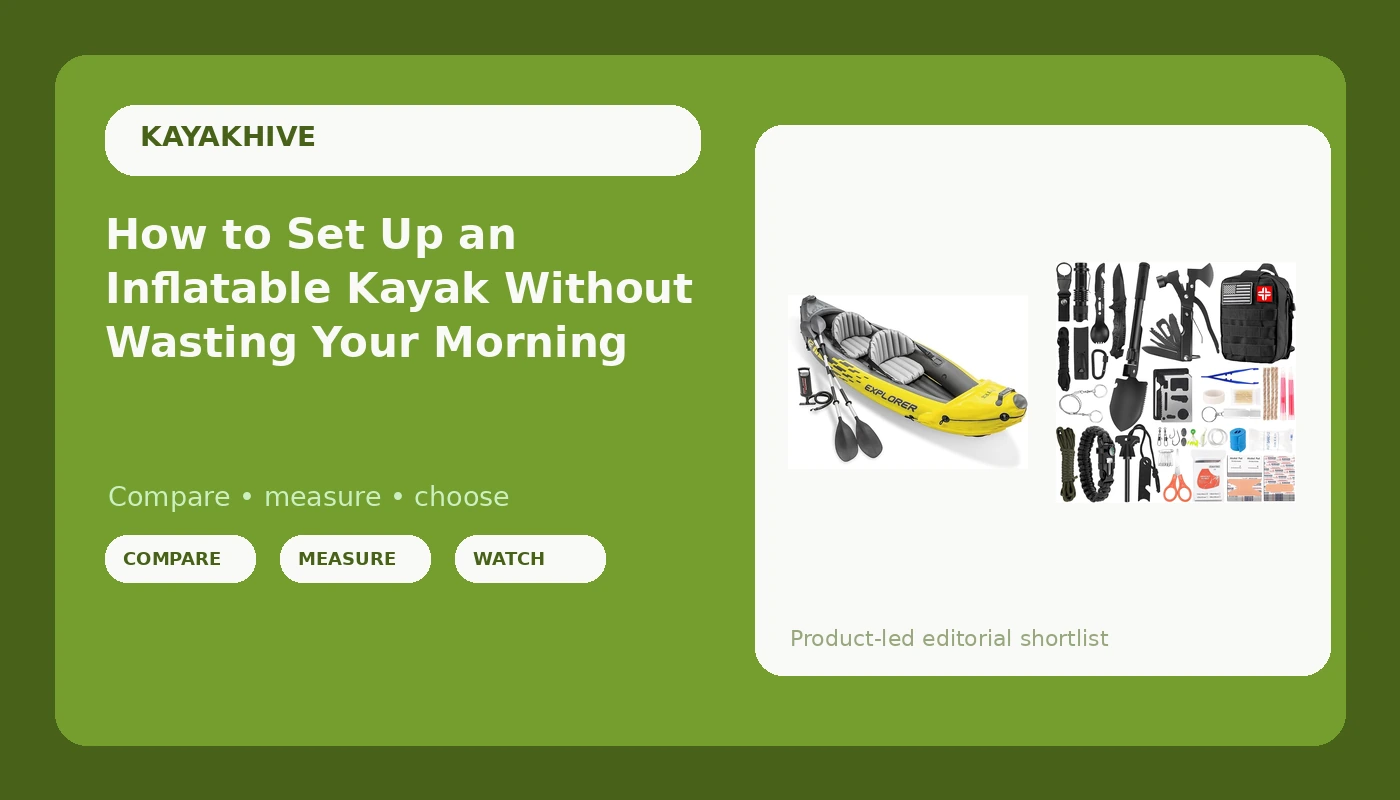
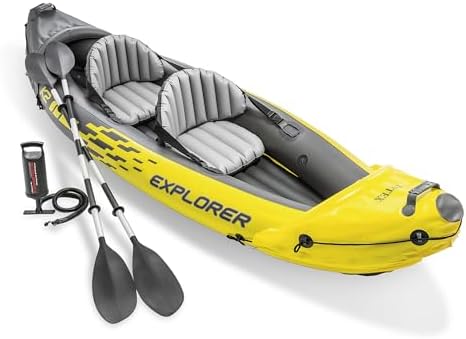
Budget pick: Intex 68307EP Explorer K2 Inflatable Kayak Set: Includes Deluxe 86in Aluminum Oars and High-Output Pump, SuperStrong PVC, Adjustable Seats with Backrest, 400lb Weight Capacity
 Visit on Amazon →
The box name is a mouthful, and it tells you most of what you need to know: the oars are included, the pump is included, the seats have backrests, and the hull is PVC. What it does not tell you is that this is a recreational boat, not a sea kayak, and that is fine as long as you know it going in.
The included high output pump is the reason this set makes sense for a beginner. You are not hunting down a separate pump on day one, and the pump moves enough air per stroke that a full inflation is a real workout instead of a punishment. The 86 inch aluminum oars are basic but serviceable, and the adjustable backrests are the difference between paddling for an hour and quitting after twenty minutes.
Here is the honest part. The 400 pound weight capacity is a lab number. Put two real adults in it on a hot afternoon with gear and the boat sits low and paddles slow, and a light chop will push you around more than you want. For one paddler and a cooler, it is a genuinely fun boat on a calm lake or a slow creek. I would not take it into a spring run on a windy day and expect it to track straight, because it will not.
Flaws but not dealbreakers: The PVC is on the thin side, which is exactly why I keep a patch kit in the same bag. The seats are adjustable but not luxurious. And the tracking is what it is on a boat with this much rocker and no skeg.
Anyone who wants a first inflatable for flat water, small lakes, and lazy creeks without spending a fortune should start here.
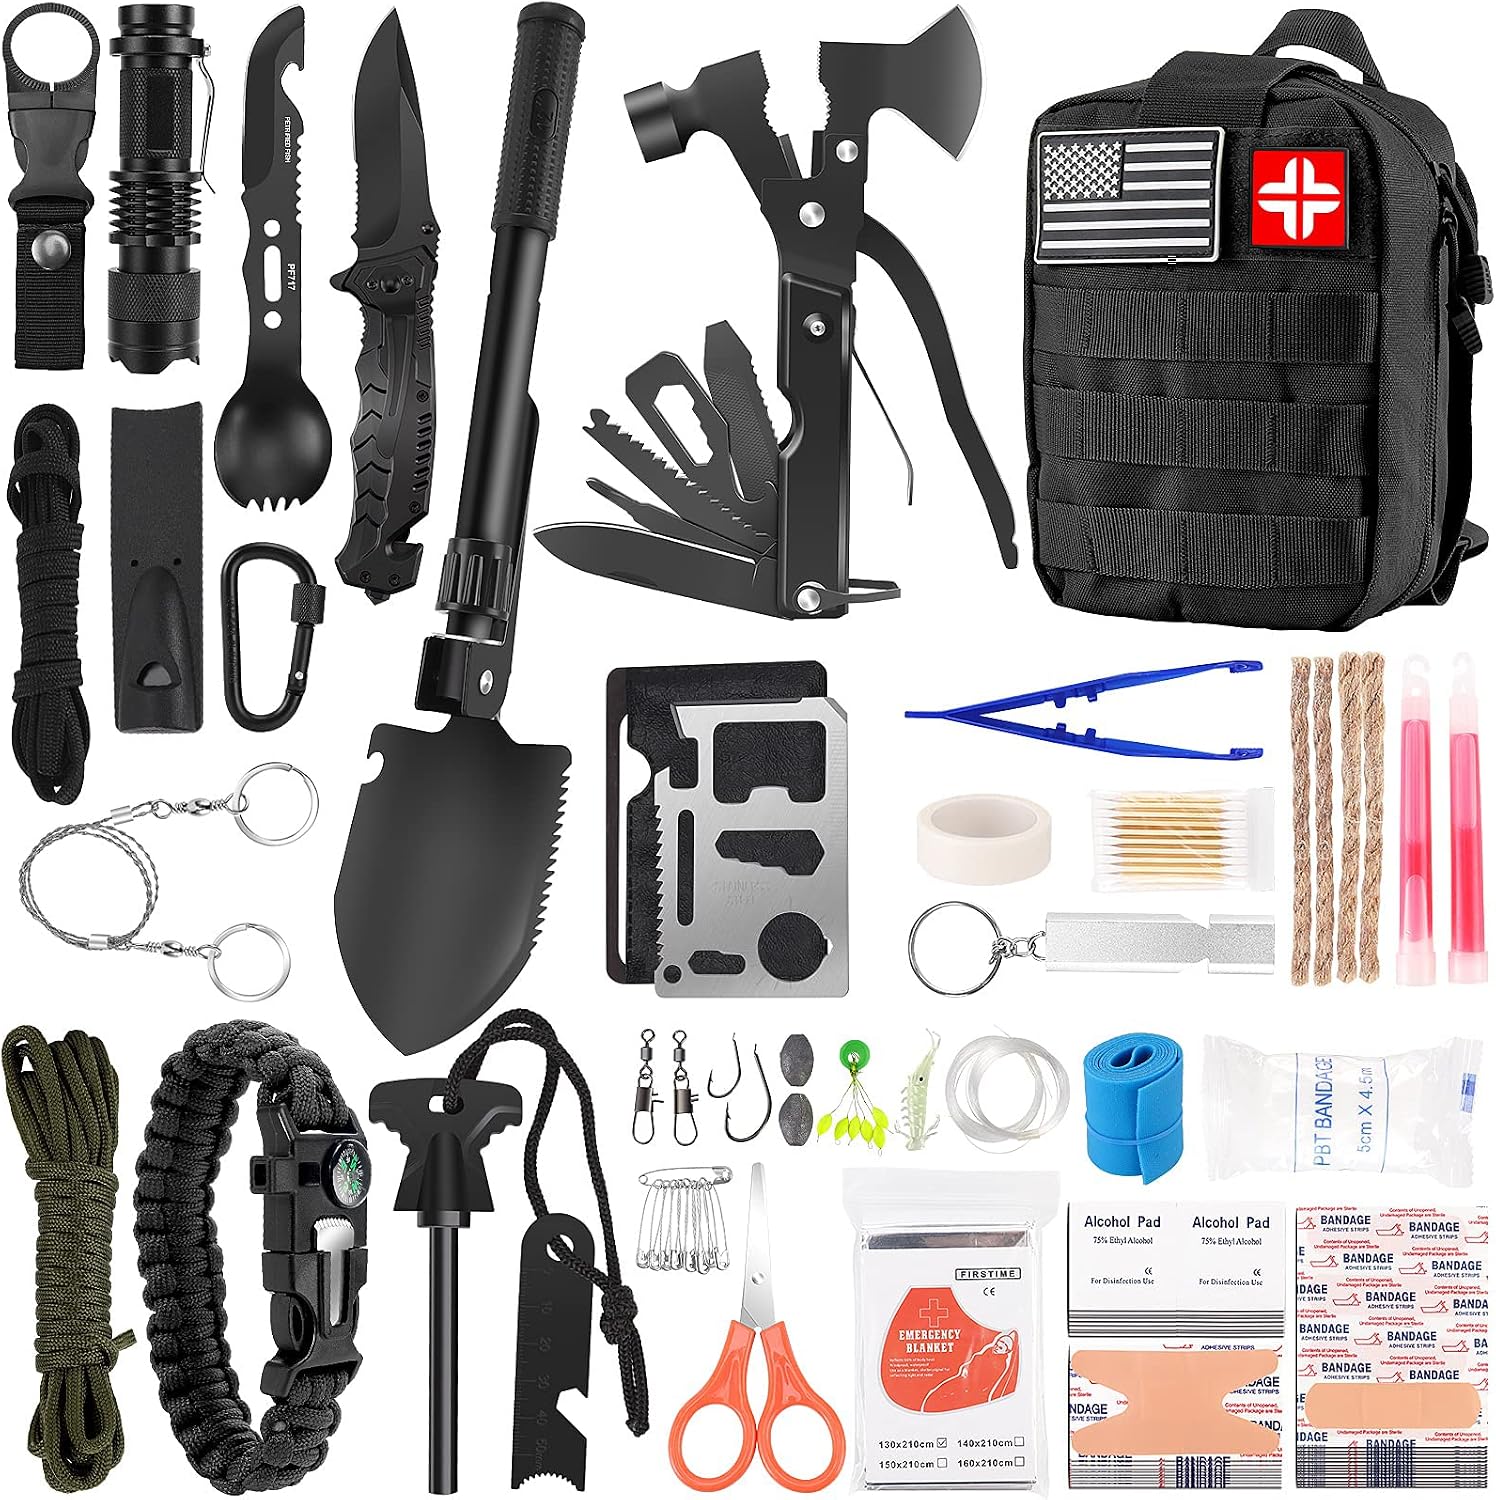
Safety kit pick: LUXMOM Emergency Survival Kit and First Aid Kit, 142Pcs Professional Survival Gear and Supplies Equipment with Molle Pouch, Gift for Christmas Men Dad Husband Camping Hiking Hunting Outdoor Adventure
 Visit on Amazon →
I know how this looks. A survival kit in a kayak article. But every setup question I get ends with the same follow up: what do I actually bring. A 142 piece kit in a MOLLE pouch is the short answer for anyone who does not want to build a first aid bag from scratch.
The pouch is the part I care about. MOLLE webbing means it straps to a pack, a deck rig, or the back of a seat instead of rolling around loose in the hull where you cannot find it when you need it. The contents cover the usual cuts, scrapes, and splinters, plus the small survival odds and ends that make it useful on a hiking day too.
Be clear about what this is not. It is a general outdoor kit, not a marine specific one, so it does not replace a proper paddle float, a bilge pump, or a spare paddle leash. Think of it as the bag that handles the bleeding and the blisters so you can keep paddling, not as your entire safety plan.
Flaws but not dealbreakers: The pouch is bulky if you are packing ultralight, and the piece count includes a lot of small items you may never touch. Repack it once with your own tape and painkillers and it becomes yours.
Anyone paddling with kids, or anyone who has ever cut a foot on an oyster shell at a put in, will be glad it is on board.
The actual inflatable kayak setup, in order
Now the part you came for. This works on almost any recreational inflatable, and the order is the whole trick.
Step one: Read your valve, not the manual. Find the valve on your boat and look at how it works before anything is inflated. Most recreational inflatables use a spring valve you push in to deflate and twist or cap to seal. If you get that wrong, you will spend the afternoon watching air hiss out of a chamber you thought was closed.
Step two: Lay it out on grass or shade, not asphalt. Hot pavement and inflatable hulls do not mix, and gravel will find every thin spot in the material. If the only flat spot at the ramp is asphalt, lay down a towel or the boat bag first.
Step three: Inflate the floor first. This is the step everybody gets wrong. The floor sets the hull shape, and if the side chambers are already hard, the floor never seats properly and the boat paddles like a wet towel. Floor first, every time.
Step four: Hit the floor pressure. If your boat has a drop stitch floor, this is where you get it board stiff. A drop stitch floor is thousands of polyester threads linking the two layers so it inflates flat instead of ballooning. A soft floor means your knees sink, the boat flexes, and every stroke costs you energy. Get it hard enough that a thumb press does not give.
Step five: Side chambers, evenly, in stages. Do not max out one side and then the other. Bring both up together, in thirds. Even pressure keeps the boat from twisting, and a twisted hull tracks worse than any rocker profile ever will.
Step six: Seats and backrests last. Seats go in after the hull is firm, because the hull shape changes as it inflates. Set your backrest so you can sit upright without gripping the paddle shaft to stay balanced. A seat that is too far back puts you in a recliner and kills your stroke.
Step seven: Recheck pressure in the sun. Air expands as the hull warms, and a boat inflated in the shade to the right pressure can be rock hard ten minutes later in direct sun. Give every chamber a squeeze after the boat has sat out for a bit. If it feels like a drum, bleed a little.
Step eight: Carry it, do not drag it. Fully inflated, the boat goes to the water on your shoulder or in your hands. Dragging it across sand and shells is how you earn your first patch.
That whole sequence, done once with your own pump, is a short job. Done in the wrong order, it is a forty minute job with a bad attitude.
The patch kit conversation
Every inflatable leaks eventually. The question is how easy it is to patch. That is why I stab test hull material before I trust it, and why the cheap boat in my garage still gets used.
A clean tear in good PVC patches flat and holds. A spreading tear in thin material keeps running, and no amount of glue stops it. When you do patch, clean the area, let it dry completely, apply the glue, and give it the full cure time even if you are standing at the water. I have watched people launch a boat twenty minutes after a patch and watch it peel off at the first rock.
Keep the kit in the boat, not the truck. A patch you cannot reach is not a patch.
Tracking and wind, the part nobody practices
Setup gets you on the water. Tracking keeps you out there. If a boat will not hold a line in a light chop, no amount of inflation pressure fixes it. A skeg helps on a hull that wants to wander, and shifting your weight forward puts more hull in the water and straightens you out.
Practice on a calm morning before you take a new inflatable into current. Ten minutes of figure eights teaches you more about your boat than an entire afternoon of straight line paddling.
What this all costs
The math here is simple. A budget inflatable set with paddles and a pump runs you one number, and the safety kit runs another, and both are on the product pages above where you can check current Amazon price. Add a patch kit and a spare pump, and you are still well under what a hardshell and a roof rack cost.
What you save in money you pay back in setup discipline. The boat that gets inflated in the right order every time is the boat that lasts, and the stopwatch does not lie about which one that is.
The questions I get at the ramp
How long should setup take? Long enough to do it in order, short enough that you are not the last one on the water. If your pump session is running past fifteen minutes, something is wrong with your order or your pump.
Do I really need the floor that hard? Yes. A soft floor is the single biggest reason a beginner thinks their kayak is slow.
Can I leave it inflated between trips? Overnight in a garage, fine. Days in a hot car, no. Heat and pressure are what kill seams.
What if I forget the pump? You will not, because the pump lives in the boat bag. That is the rule.
Set it up right once and the rest of the season is paddling instead of pumping. The springs do not care what the sticker on the hull says. They care how it tracks, and they care whether you are still on the water when the afternoon storms build.